👥 Clients
Managing Clients from the Dashboard

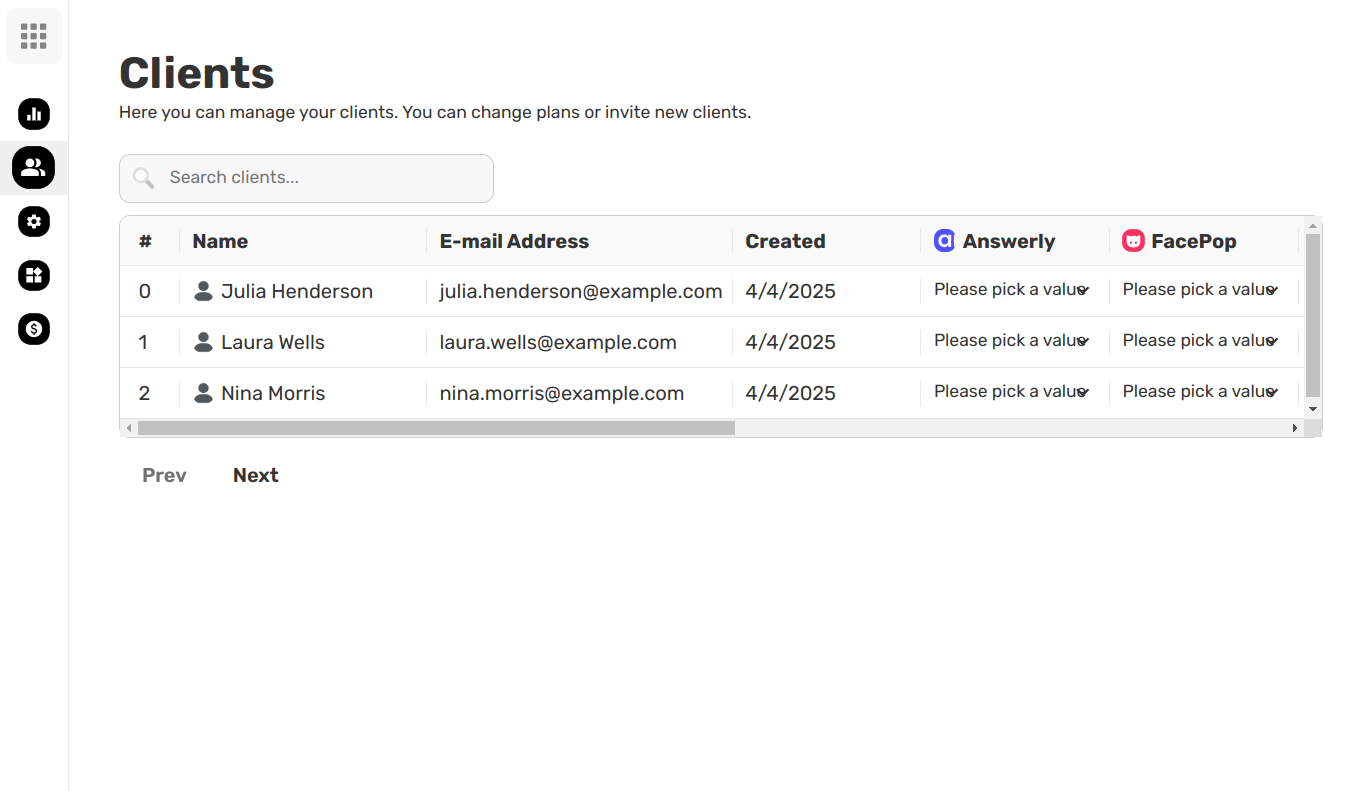
Once clients start signing up, you’ll see them listed under the Clients tab in your dashboard. This section gives you full control over each user’s access, plan, and status.
👤 Viewing Client Details
Each client entry includes:
- Name and email
- Assigned plan
- Signup date and activity
- Actions like assign plan or delete
Click on a client table to open a detailed view with all relevant info.
📝 Assigning or Changing a Plan
To change the plan for a client:
- Go to Clients in your dashboard.
- Click the dropdown under the Plan column for that client.
- Choose a different plan from your list.
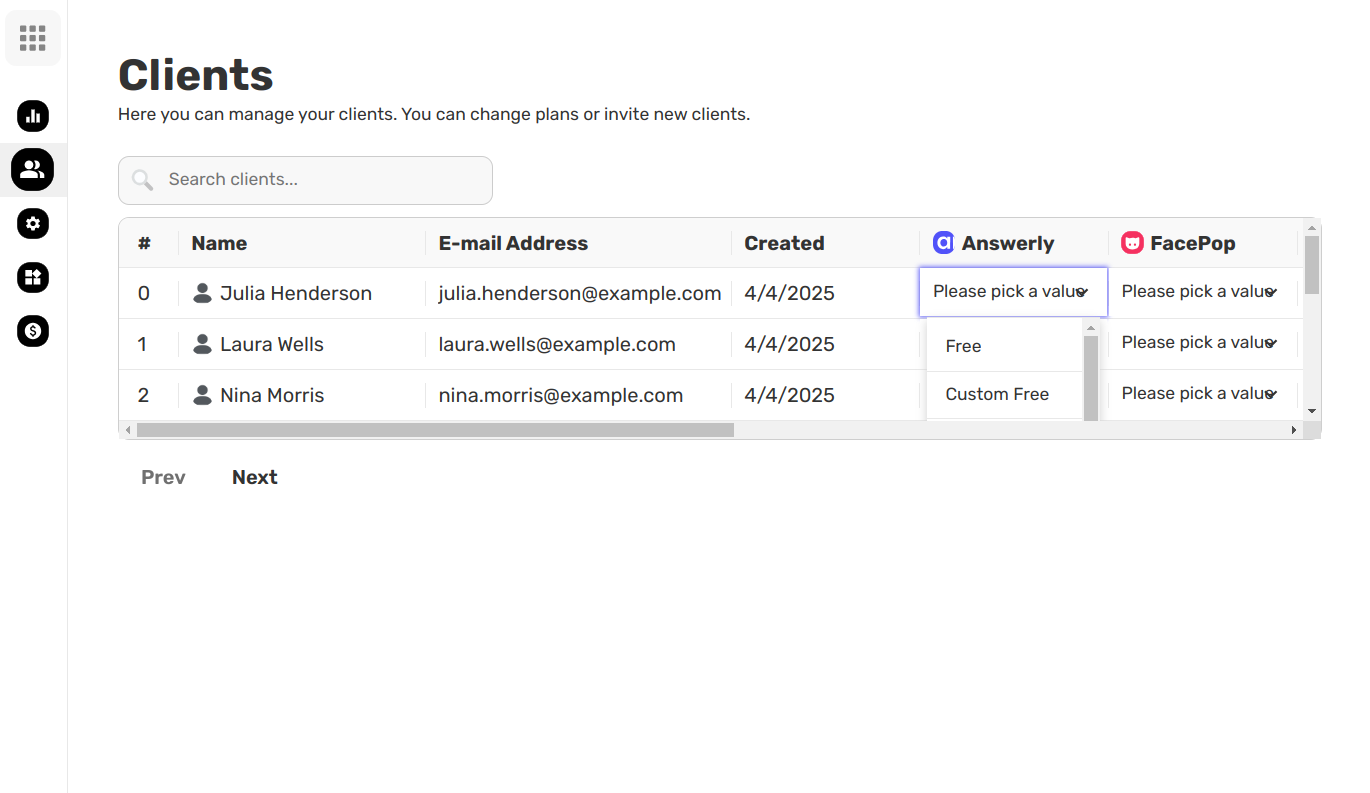
✅ This will instantly update the client’s access and available features based on the new plan.
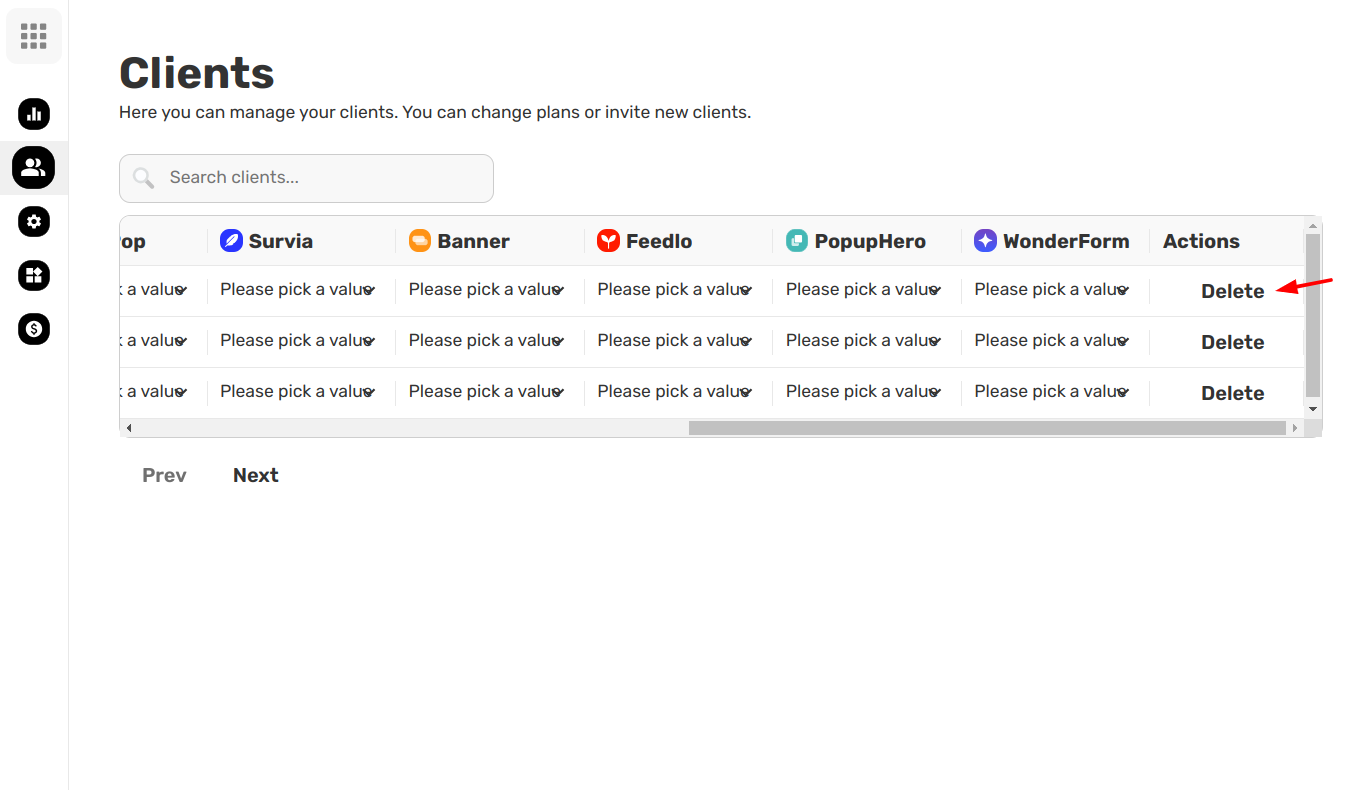
🚫 Deleting Clients
If you need to remove access:
- Click on the delete button to permanently removes the client and their data.
- Use this responsibly — deleted clients cannot be recovered.
🔁 Keeping Things Up to Date
You can use the Clients dashboard daily to:
- Monitor new signups
- Adjust access levels
- Clean up inactive accounts
As your user base grows, this panel becomes the command center for managing everyone efficiently.
Need help managing a large number of clients or unsure which plan to assign? Reach out anytime — we’re here to help you stay organized and in control. 🙌